This is a decadent, tahini-rich hummus, but it still comes in cheaper than even the cheapest store bought varieties I’ve found. It’s also a wholefood hummus because it doesn’t use any additional oil. Its rich texture comes from the generous use of tahini. Another upside to using so much tahini is the higher protein content.
The secret to a good hummus isn’t just your ingredients, but also the order and method in which you combine them. The garlic and lemon juice are combined first to mellow the garlic taste, then whipped with the tahini to start incorporating air and develop the creamy texture. Smoothness depends on how long you process it for. I prefer smoother and let the processor run for about five minutes after adding the chickpeas. Explore the options and see what you like.

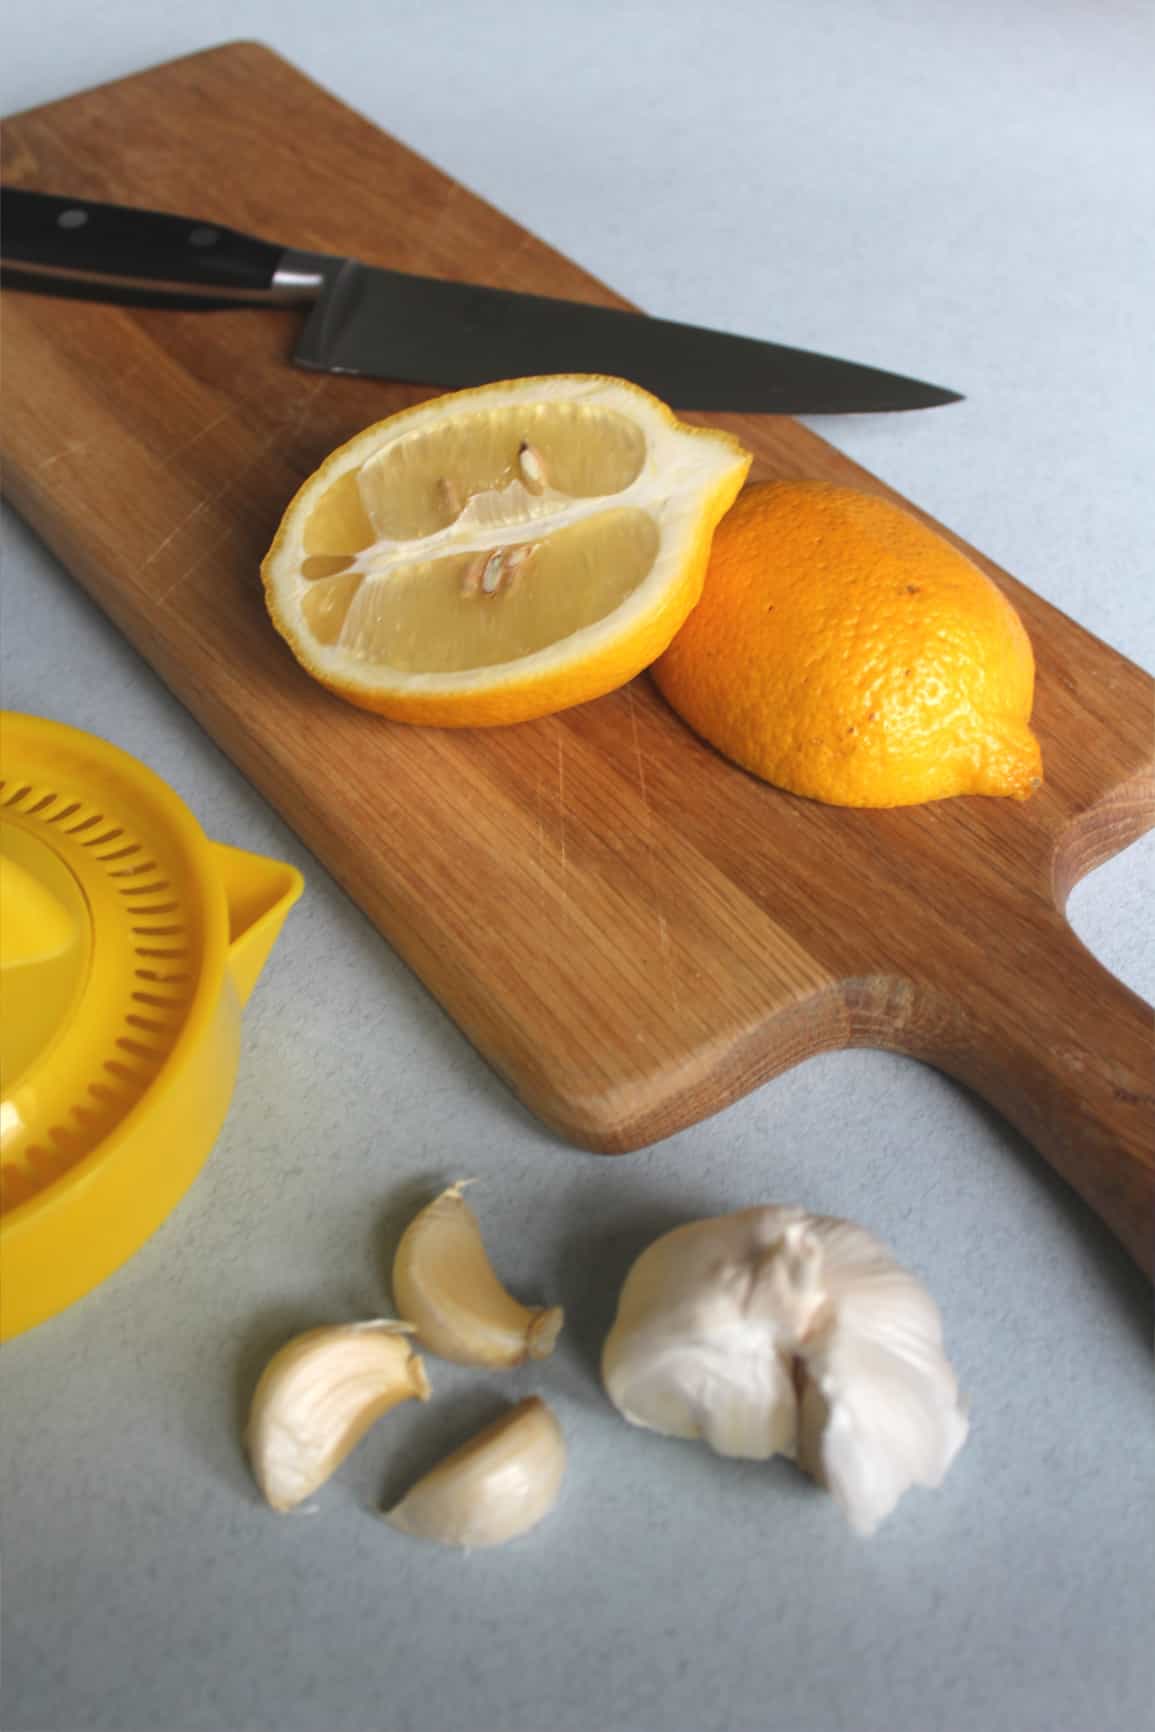
When juicing lemons cut them horizontally between the two ends. With a wide opening you can get right in, break up their flesh and bring all the juice out. A lot more can be extracted this way.
You can use canned chickpeas, or dried (after soaking and cooking). Both options work great. 200g of dried chickpeas once soaked and cooked will yield approximately 460-500g of cooked chickpeas.
Green Tip – If you’re using canned chickpeas, save the liquid. It’s known as aquafaba and it’s a great egg-substitute in vegan cooking. One of my favourite uses is making vegan English pancakes.
There’s plenty of ways to enjoy hummus. But I often end up just eating a bunch of it out of the food processor bowl right after making it. Got to test the seasoning, and that usually leads to a bit more…testing. However, for a simple serving option, I like it with a selection of fresh fruits and vegetables. An easy snack that looks great when served.
Rich, flavorful, creamy hummus
Ingredients
- 2 x 400g Cans of chickpeas – aka garbanzo beans (drained) (or 200g dried chickpeas cooked according to your packet’s instructions)
- 150 g Tahini
- 1 Large lemon (juice only)
- 3-6 cloves Garlic (adjust to taste)
- 1 level teaspoon salt
- Cold water Use as needed
Instructions
- Process garlic (whole cloves, no need to peel) and lemon juice in a blender or food processor until well broken down. Check for large pieces and if needed process again until none remain. You’re aiming to really break the garlic down and expose it to the lemon juice – as this is the step that creates the flavour. This is an important step, chunks of garlic remaining at this stage will taint the finished hummus with a raw garlic flavour, so be persistent with the blending!
- Let the lemon juice and garlic mixture sit for at least fifteen minutes. If you smell it right after blending, then again fifteen minutes later, you will find the raw garlic aroma has changed and a new rich, tangy yet mellowed aroma has developed.
- Press the garlic and lemon juice through a sieve to collect the liquid (solids can be discarded). Place the liquid and the tahini in to a food processor with the salt and process. It will thicken, possibly turn in to a crumbly solid. Slowly drizzle in cold water as the processor is running until you form a smooth creamy mixture.
- Add the drained chickpeas and process to combine. Initially it will be quite thick and chunky. Slowly pour in water until the processor can run smoothly and let it work on the chickpeas, reducing them to a creamy texture. The longer you blend the smoother the hummus. Slowly add cold water as needed to achieve the consistency you want.


This is now my favourite hummus! It’s not got that greasy taste that ones with sunflower or olive oil have, but it’s still really rich. Tip – try some right after you’ve made it, while it’s still a little warm from being whizzed around in the processor. Yum! I liked the idea to try it with fruit, too. Goes nice with apples.
Hi Kate! Great to hear how much you’re enjoying the hummus. I have to agree with not being sure about the taste of olive oil in hummus – even though I otherwise love olive oil and use it often.