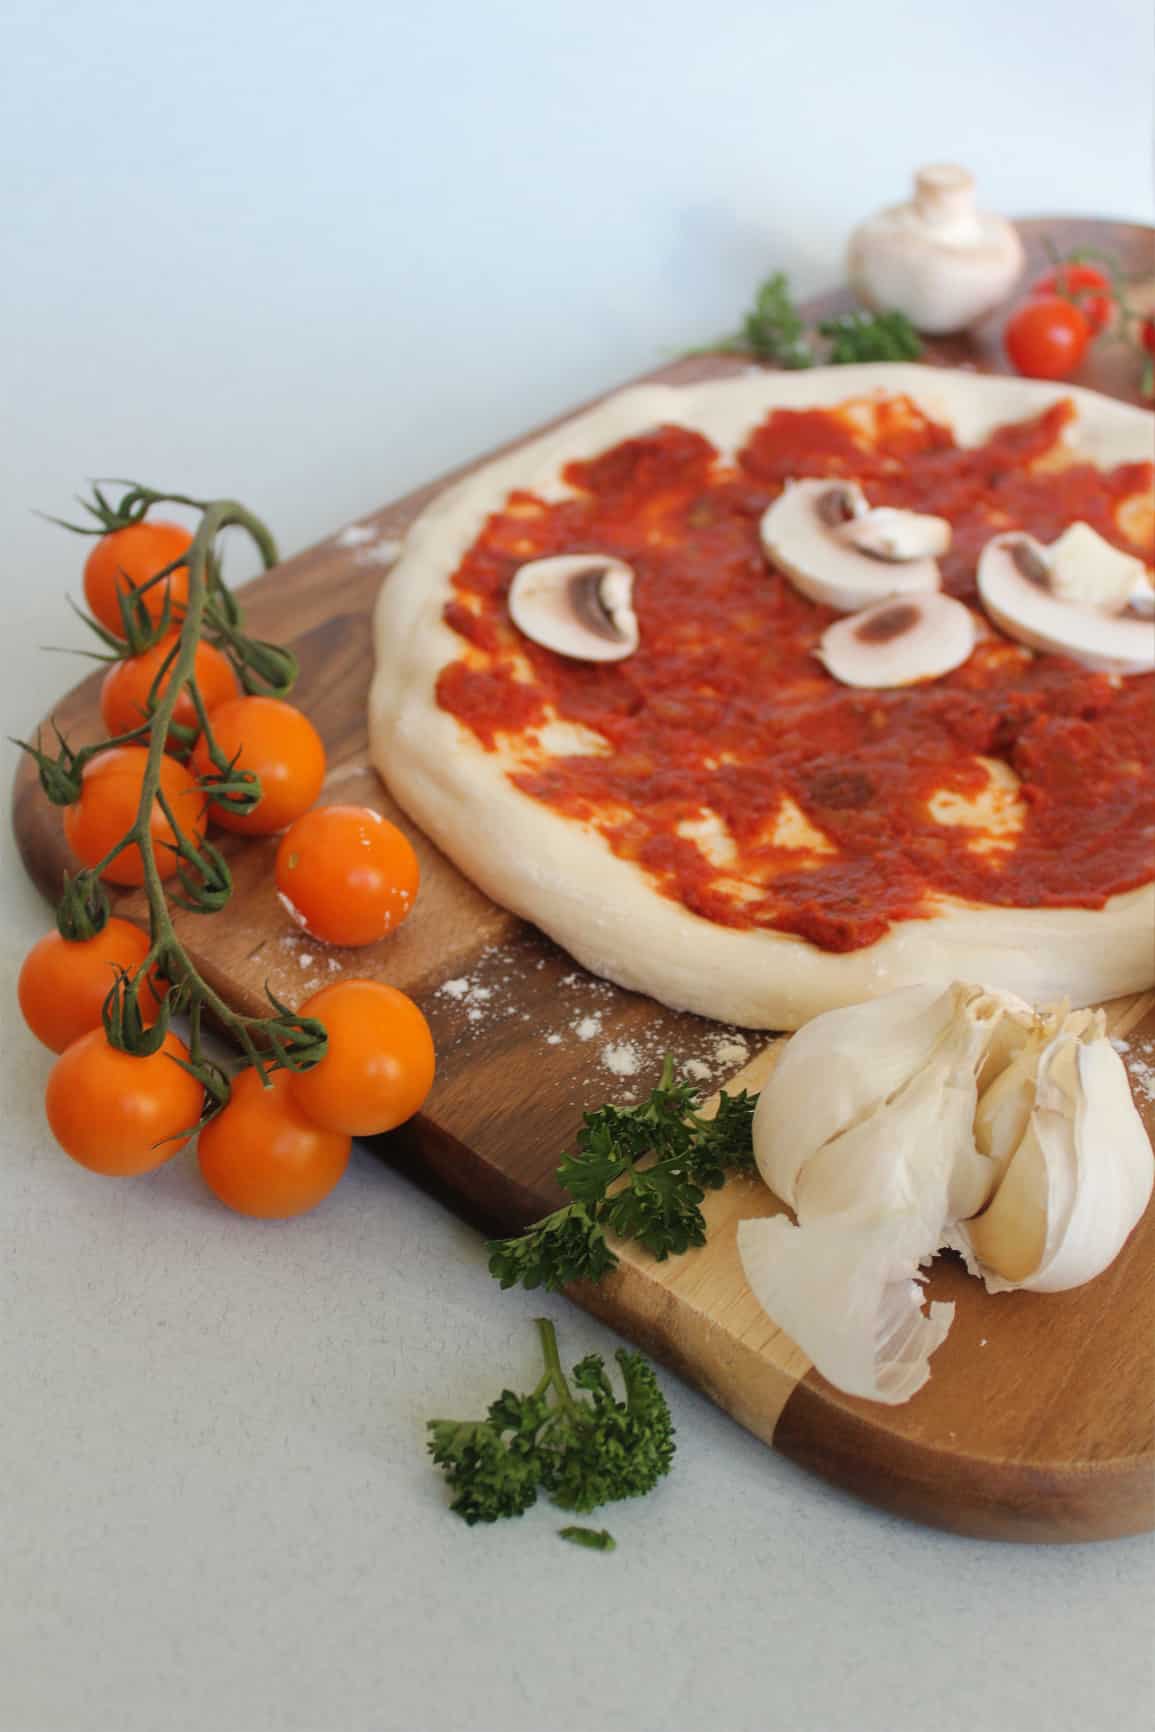
Many things contribute to a great pizza, but without a doubt the pizza crust is always playing a big role. This recipe makes one of my favourite types. A crisp crust with flavourful, golden, pillow-like edges that reveal a soft, chewy centre as you bite in. Plus it’s easy to make, and it’s designed for baking in domestic ovens – not pizza ovens.
Combine all of these qualities and excellent pizza is simple to make at home, even as a regular mid-week meal.
Simple to make, but there’s several interesting bread making techniques inside this recipe. One is modern, one is ancient, and one I discovered myself.
First a modern technique created by a French chef, Raymond Calvel in the 1970s. It’s an autolyse, and it’s perfect for this recipe. Effectively it’s hydrating the flour. Just mix up the flour and water (no salt or yeast at this stage) and then set aside for half an hour before continuing with the recipe. The results, however, are significant. It creates doughs that seem to stretch forever – a fantastic property for making pizza – and it can make cohesive doughs with high water content. The end result is soft and stretchable, but not sticky.
High water content is essential here because we’re baking in a domestic oven. Traditionally, pizza is cooked in a hot wood-fired oven. Gas ovens designed for pizza are popular too. Either way, their intense heat allows for rapid inflation and then fast cooking of the dough. This creates the two textures we want – crisp outer and soft inner. The technical challenge is how to create this with a domestic oven?
You’ll need to use a pizza stone and turn the heat up to the highest setting to get as close as possible to pizza oven conditions – but you won’t get all the way there. A lower temperature means more time to bake. This pizza crust takes 10-12 minutes – which is fast – but to put this in context a pizza oven takes just a couple of minutes. This puts us in the ballpark of five times longer – which is why the higher water content dough is important. A moister dough puffs up and inflates for longer, and it will not dry out as fast. The result is excellent, it has the texture and taste of a pizza from a commercial gas-fired pizza oven.
To develop flavour I’m using an ancient technique – time. Time, however, doesn’t mean work. At least not in this case. This is an overnight dough that rests in the fridge for 12-24 hours.
Slow proofing is a powerful flavour builder. It’s hard to beat a slow-risen dough – particularity when all these benefits come from simply sticking the dough in the fridge and ignoring it overnight. You’ll need to plan ahead and start your pizza crust the day before, but your total hands-on time is going to be minimal.
The technique I discovered happens in the final kneading. The goal is to create a ball of dough that’s perfectly sized for one pizza, and has the gluten strands arranged radiating out from its centre. The result is a ball that stretches readily to create an excellent pizza crust with smooth, plump edges. To do this, the edges of the ball are stretched out and then folded into the centre, a process that is repeated – with rotation – multiple times. This kneading pattern aligns the gluten strands from the edge to the centre. The final step before topping and baking is stretching your dough. No kneading, the aim is to preserve the structure we’ve already created and gently stretch the ball by hand to form a disc. Keep a thicker section at the edge for that all important, pillow-like ring of crust.
Top with a bold tomato sauce – just a couple of tablespoons per pizza crust. Slow Cooker Tomato Sauce is a great choice, or simply buy some. Complete it with thinly sliced vegetables, and when you take it out of the oven garnish with fresh chopped herbs and a drizzle of olive oil. There’s many possibilities, but one of our favourite toppings is Mushroom & Garlic Pizza Marinara.
Pizza crust dough
Ingredients
- 175 g white bread flour
- 125 g warm water
- 3/4 teaspoon salt
- 1/8 teaspoon instant yeast
Instructions
- Add the warm water to the flour. Using a blunt table knife cut through and stir the mixture until all the flour is wet. Cover and set aside for 30 minutes.
- Sprinkle the yeast and salt across the mixture’s surface, then knead to mix them in and develop the dough. You can use an electric mixer, or alternatively, knead by hand. Both methods achieve the same outcome.
Electric mixer – This is the easiest way to knead a high hydration dough. Use a dough hook and knead until the dough is smooth and pulls away from the sides of the bowl.
By hand – You can absolutely knead a high hydration dough by hand, but it’s sticky stuff to work with. Keep it in the bowl while you work it. Rather than push deep in to the dough it’s better stretch it and fold it with your fingers. Don’t expect it to stop being sticky – that will only reduce – instead stretch and fold until you create a smooth elastic dough that pulls away from the bowl. - Cover the dough and set aside in a warm place to rise until doubled in size. How long this takes depends on room temperature and yeast quality, but about 1-2 hours is likely.
Note – if multiplying the recipe, the dough must be divided at this point and each pizza-sized portion treated individually from now on
- Place the dough on a lightly floured surface and roughly shape in to a ball. Pinch a section from the edge of the ball, pull it out, then fold in to the centre and push in firmly to adhere it. Rotate 45 degrees and repeat. Continue this process until the ball become tight and it is difficult to pinch and pull any more.
- Place the ball pinched side down in a lightly oiled bowl, cover and refrigerate for 12-48 hours. Longer time develops more flavour and a more open texture.
- About 45 minutes before baking, remove the dough ball from the fridge to warm up, and place a pizza stone in the centre of the oven and preheat (240 °C, Fan 220°C, 475°F, Gas 9).
- When the oven and pizza stone is heated, hand stretch the dough on a lightly floured surface to form a 30 cm (12 inch) disc. Remove the pizza stone, quickly place the dough on it, add toppings, then return to the oven and bake for 10-12 minutes until the crust is golden and crisp.


